Cake
I started off by creating the centrepiece of the explosion box. I chose a cake for this project. If you want more variations, you can create a gift box where you can place your gift in the box. On the other hand, if you want it to be simple, there is no need for a centrepiece but you can write the main message instead or place the person's initial. It's all up to your creativity here :)Materials required
1) Coloured paper of your choice
2) Craft scissors
3) Silhoutte Tape
3) Flower-shaped Puncher
4) Beads
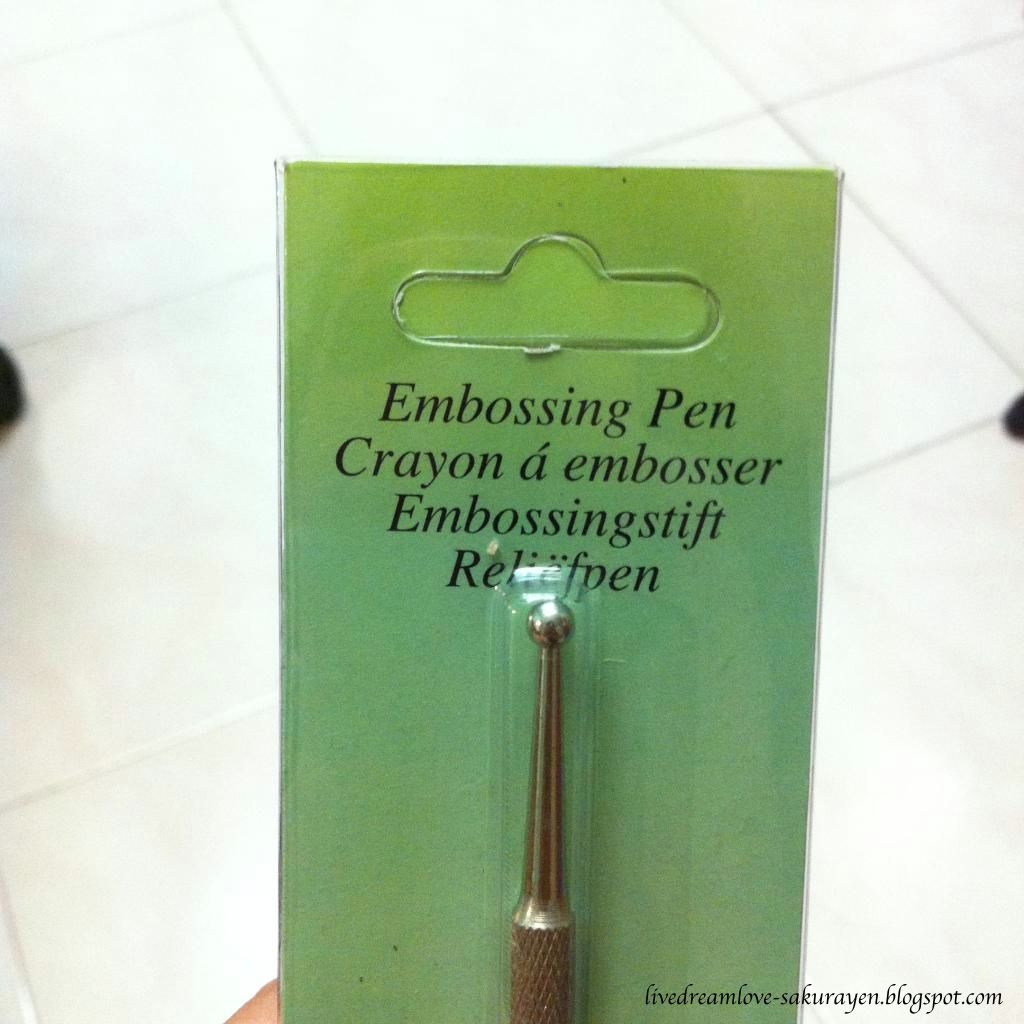
5) Embossing Pen
6) Glue
1) Cut three circles, each smaller than the other. These circles will be the base, divider and top layer of the cake. I used a craft scissors to create the patterns while cutting out the circles.

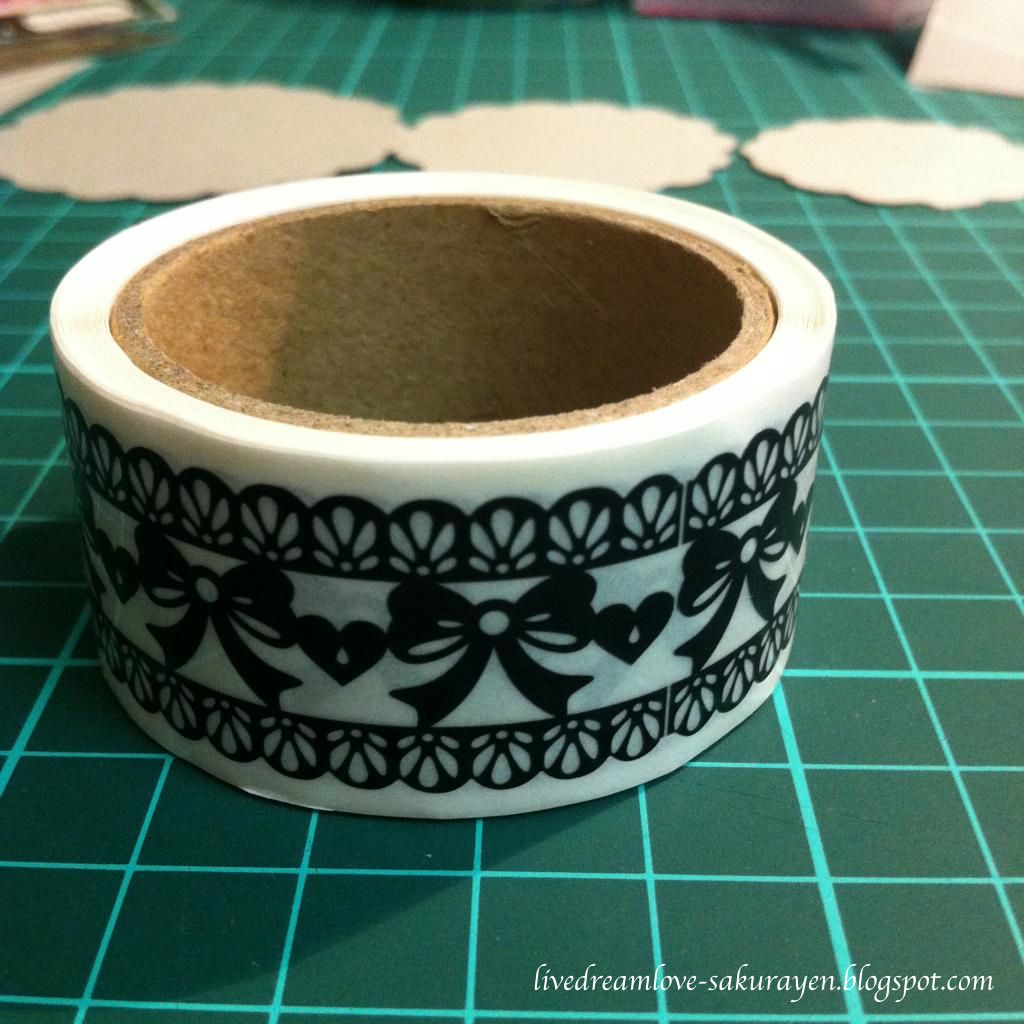
Here is the silhouette tape on the strip of paper.

Make your measurements according to the cut-outs you have made. Roll them up together and tape them at the ends.

3) For the top layer of the cake, I decorated it with a paper rose and some green paper to form the leaves.
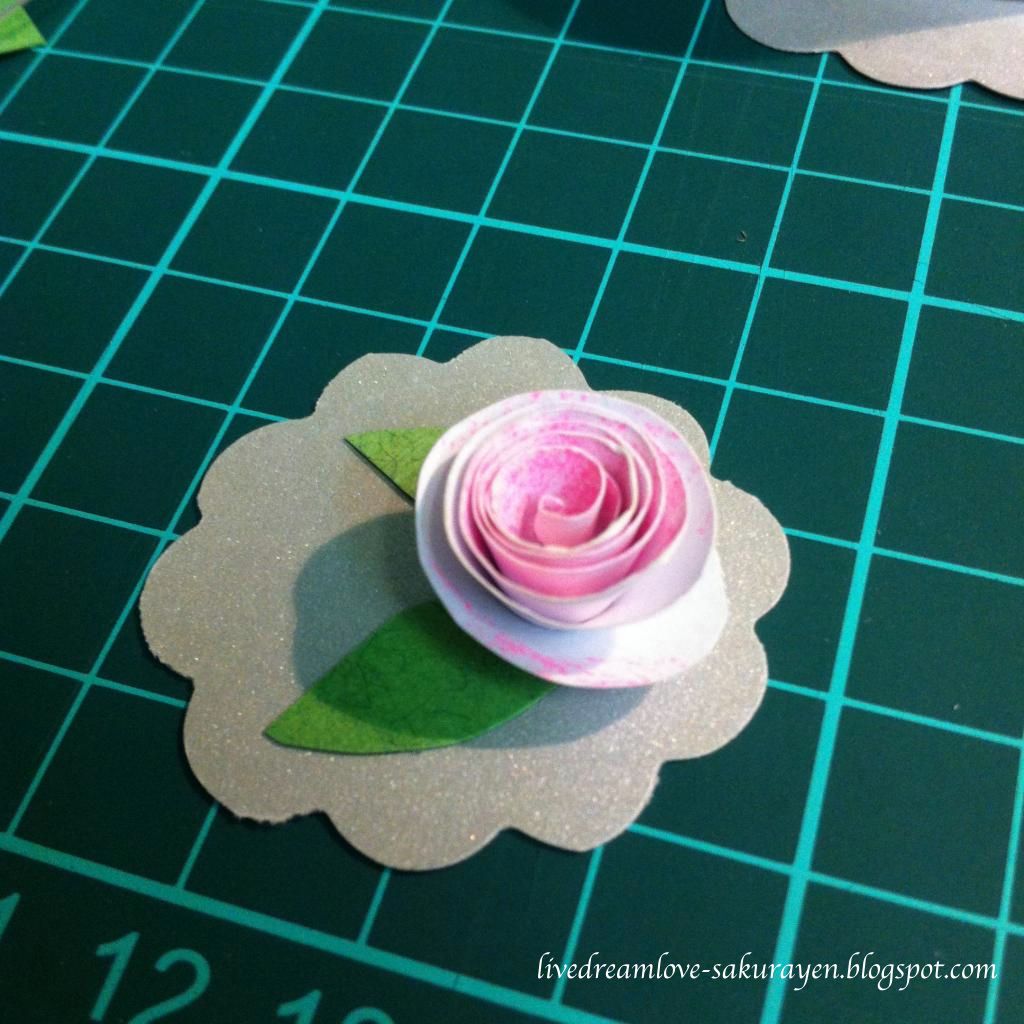
The paper rose was a simple piece of decoration . Basically, cut out a round piece of paper and slowly cut into the paper in a circular motion until you reach the middle. Then, just twirl it from the end where you started cutting towards the middle and finally secure it to the base (previously, the middle part of the circle). I included a step-by-step tutorial from the site I learnt from. If you would like a little colour tone, like the slight pink I have on the white paper, just dab a little pink colour with a sponge at the edges of the circle before you start cutting it.

4) For some additional decoration to be placed at the sides of each cake layer, I punched out two pieces of flowers using the flower-shaped puncher below and glued beads to the middle of the flowers.
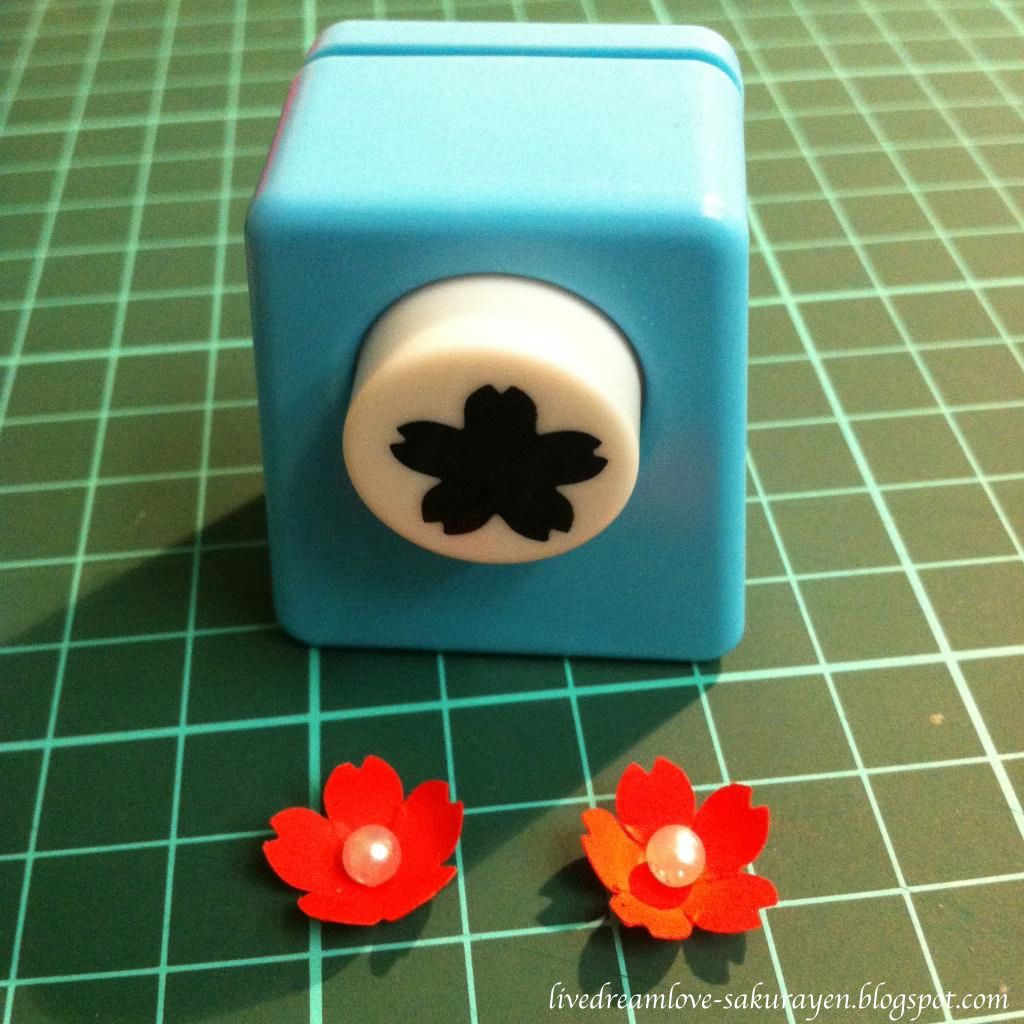
To create the 3D effect for the flowers, I used an embossing pen below. This was done before gluing the beads to the flowers.
5) Final step for the cake! Put it altogether and voila~!

Explosion Card Box Structure
Materials required
1) Coloured paper of your choice
2) Craft scissors
3) Heart-shaped Puncher
3) Embosser
4) Stamps
5) Double-sided tape
6) Glue
7) Ribbon
8) A little bling-bling
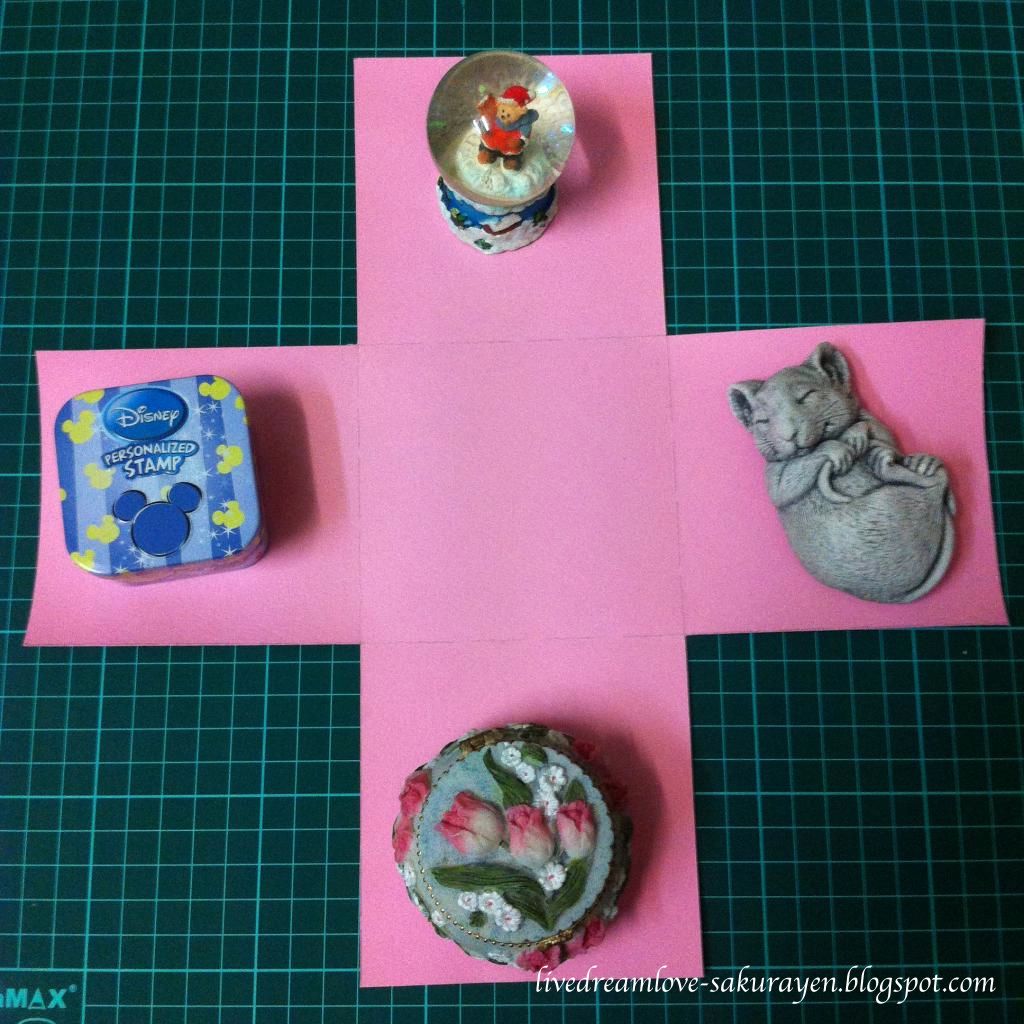
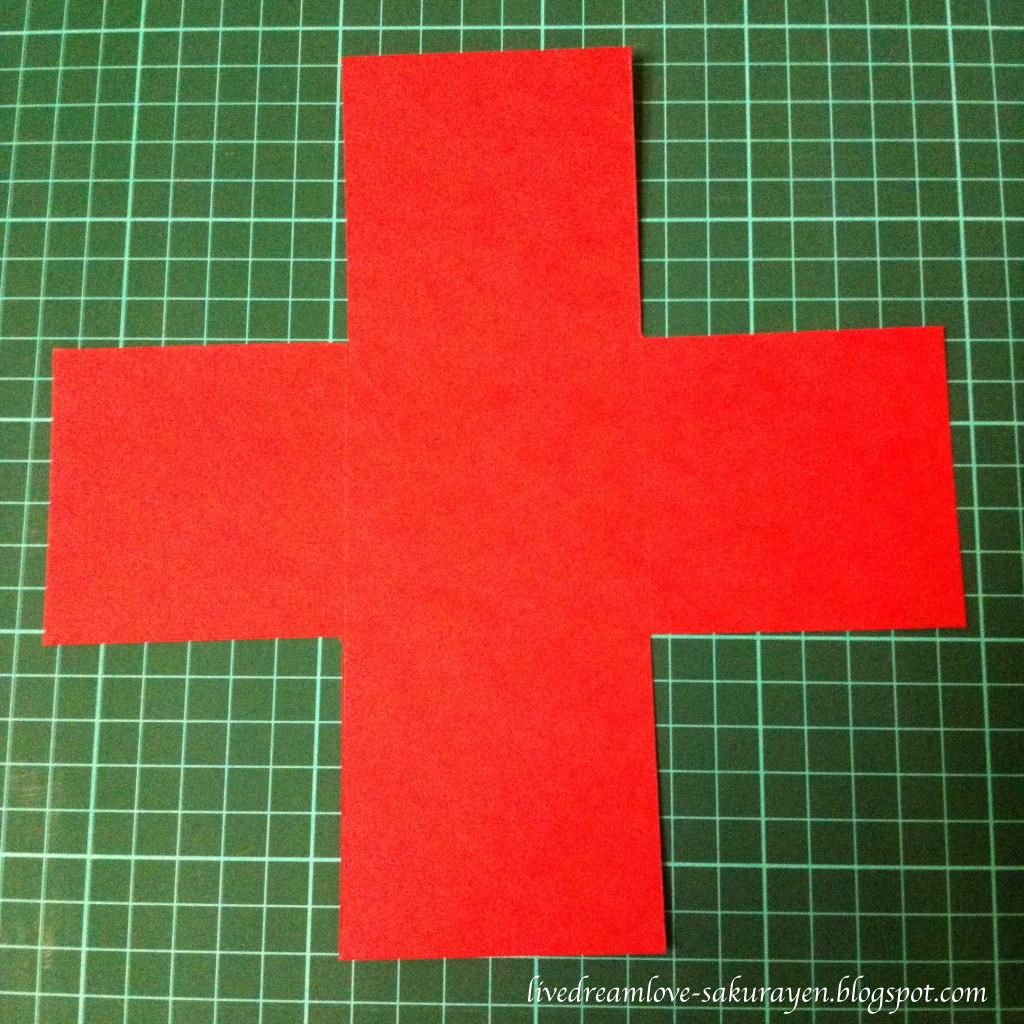
1) Start by cutting out the external structure of the box. For this project, I cut out a 30cmx30cm piece and divided them into 9 equal parts.

2) Cut out the 4 corners. When you fold the paper according to the lines, this will form the base structure of the box.
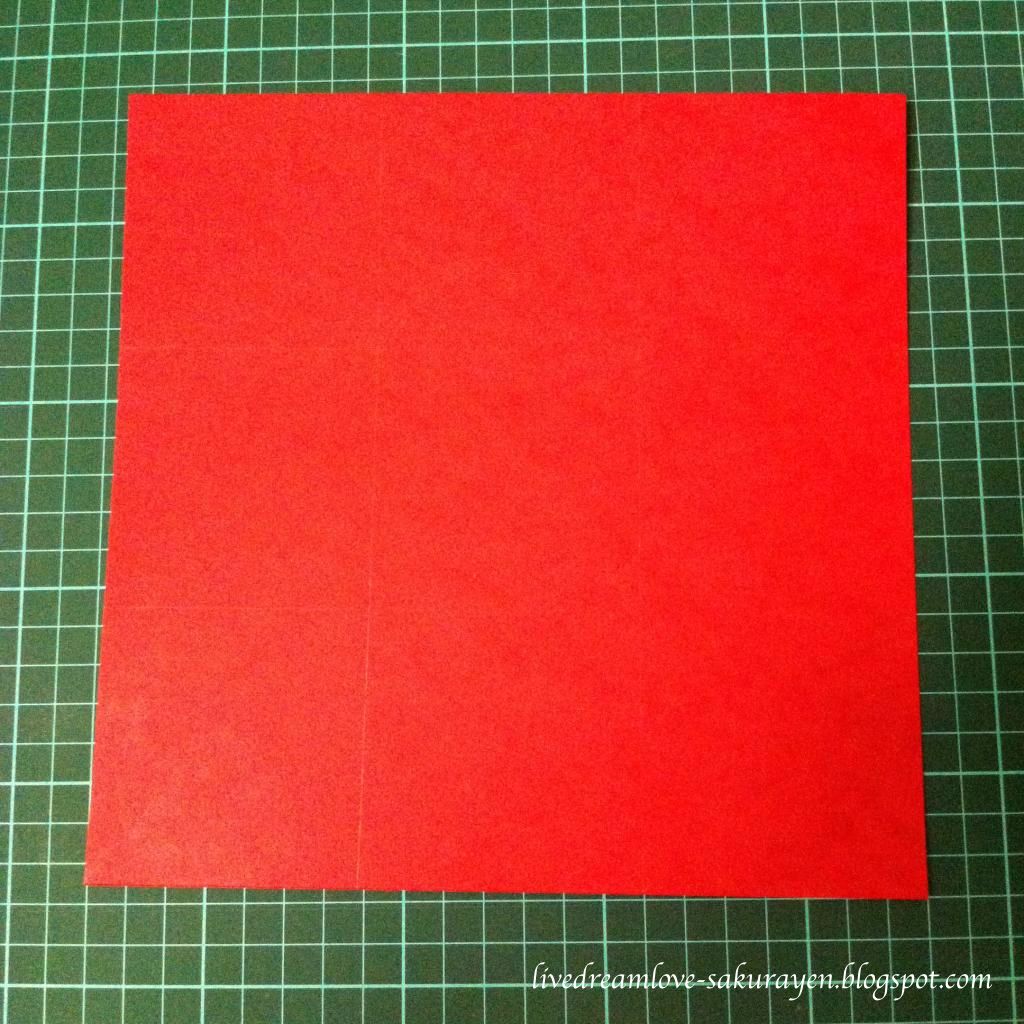
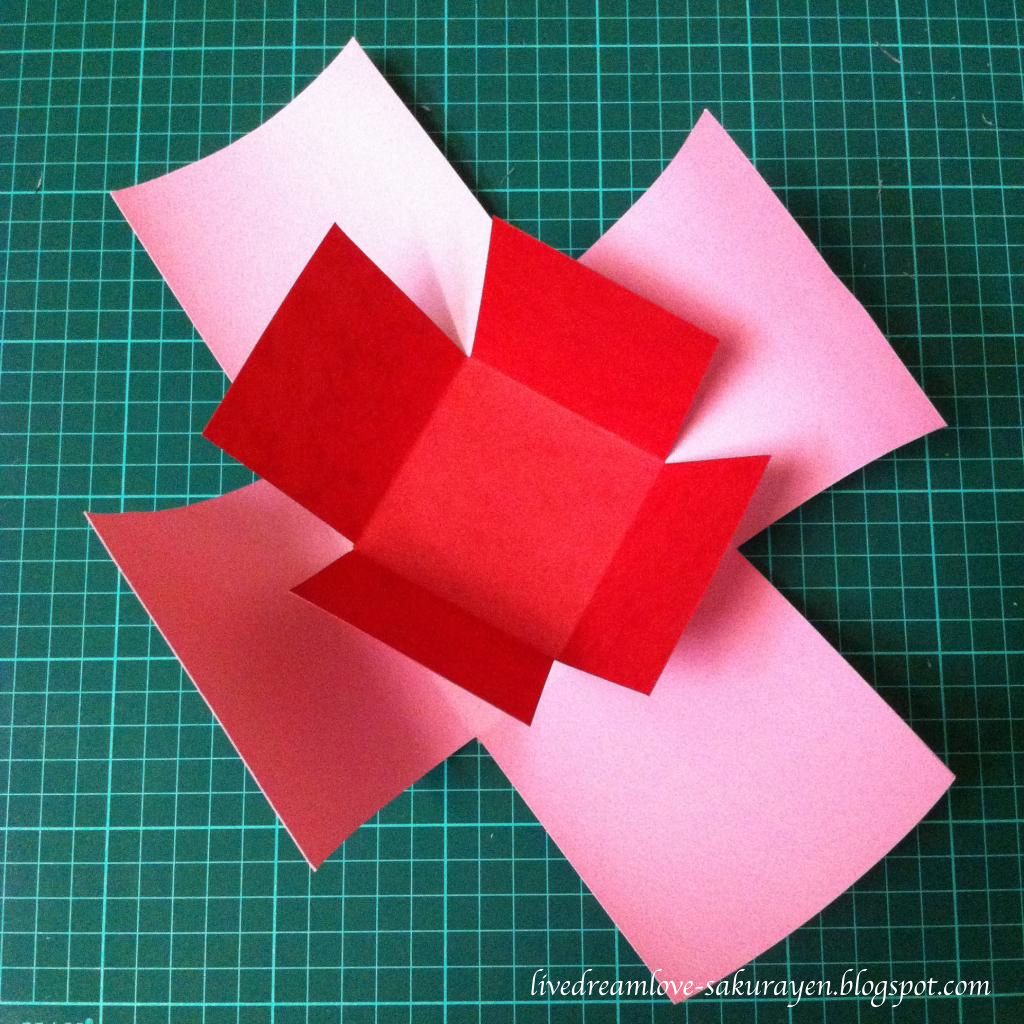
3) Next, prepare another piece of paper. This will be the inner layer for the card box. For this, I chose a 21cmx21cm dimension. Divide it equally again into 9 parts and cut out the 4 corners.
4) Glue the inner layer to the base structure of the box. Make sure you place it right in the middle or else your box may not be able to close properly.
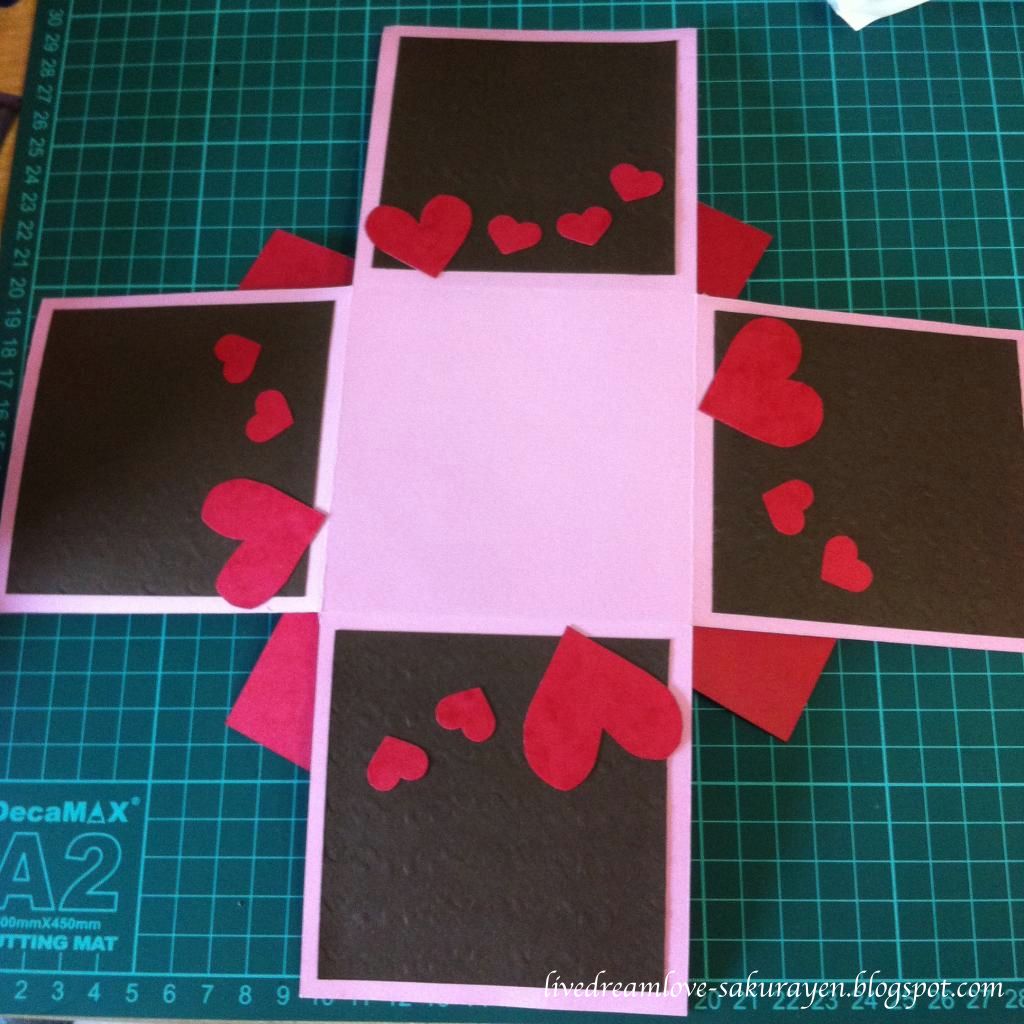
5) I decorated the inner layer with some heart-designed paper with some borders which were cut using the craft scissors.

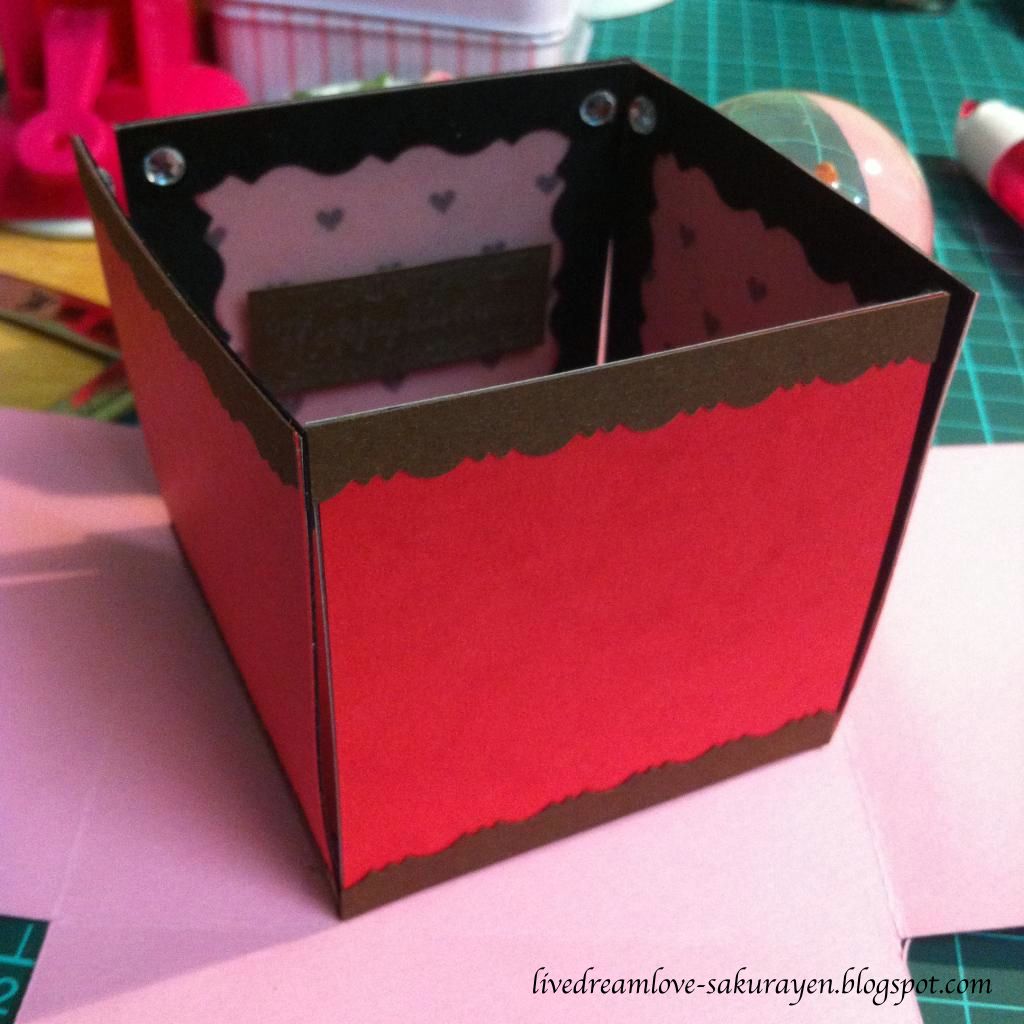
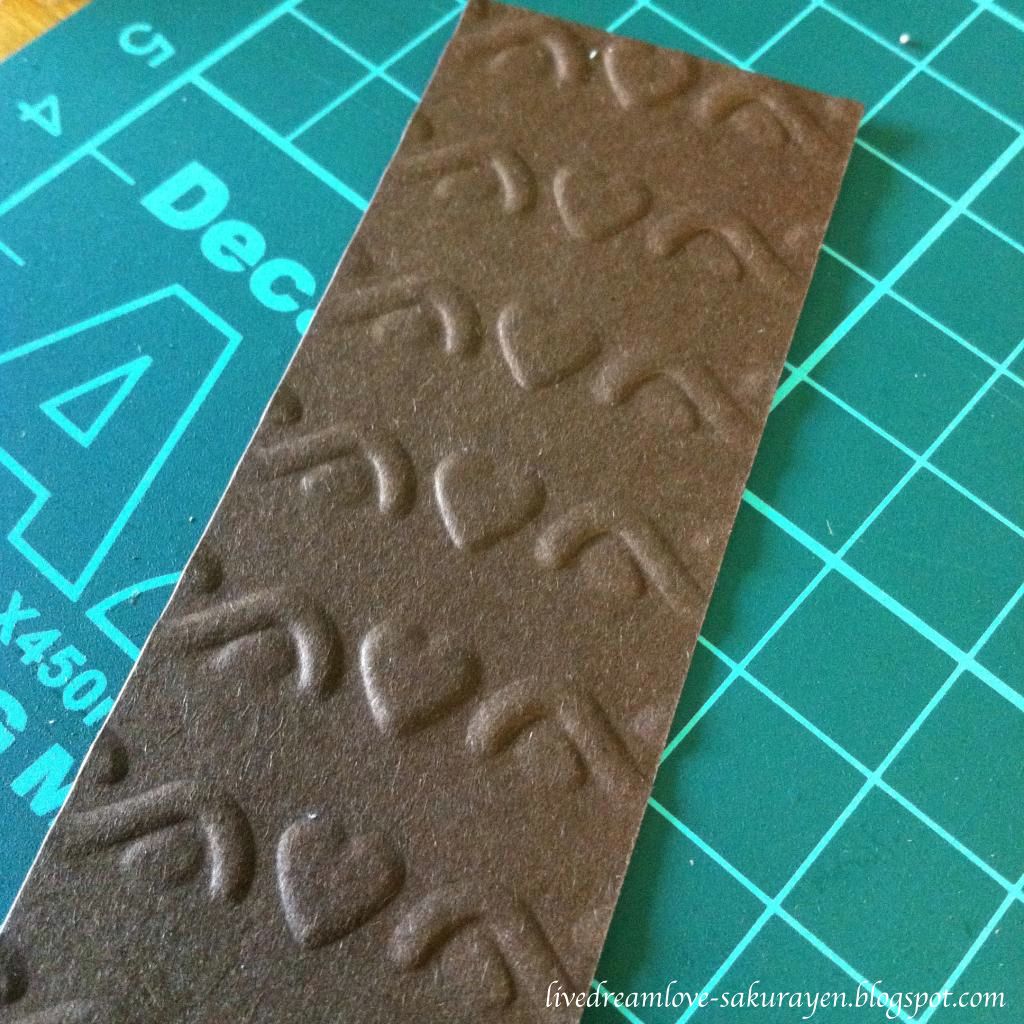
7) For the external structure of the box, I glued dark-brown papers to each side of the box and decorated them with hearts. The small hearts were punched using the heart-shaped puncher while the bigger ones were drawn and cut-out.
The dark-brown paper was actually embossed with the pattern below but it doesn't show up clearly in the photo above.
8) Next step, decorate, decorate and decorate!
Explosion Card Box Cover
1) For the cover, cut out a piece of 21cmx21cm paper. Fold the edges such that each edge is 5cm wide (fold the edge again into half - 2.5cm).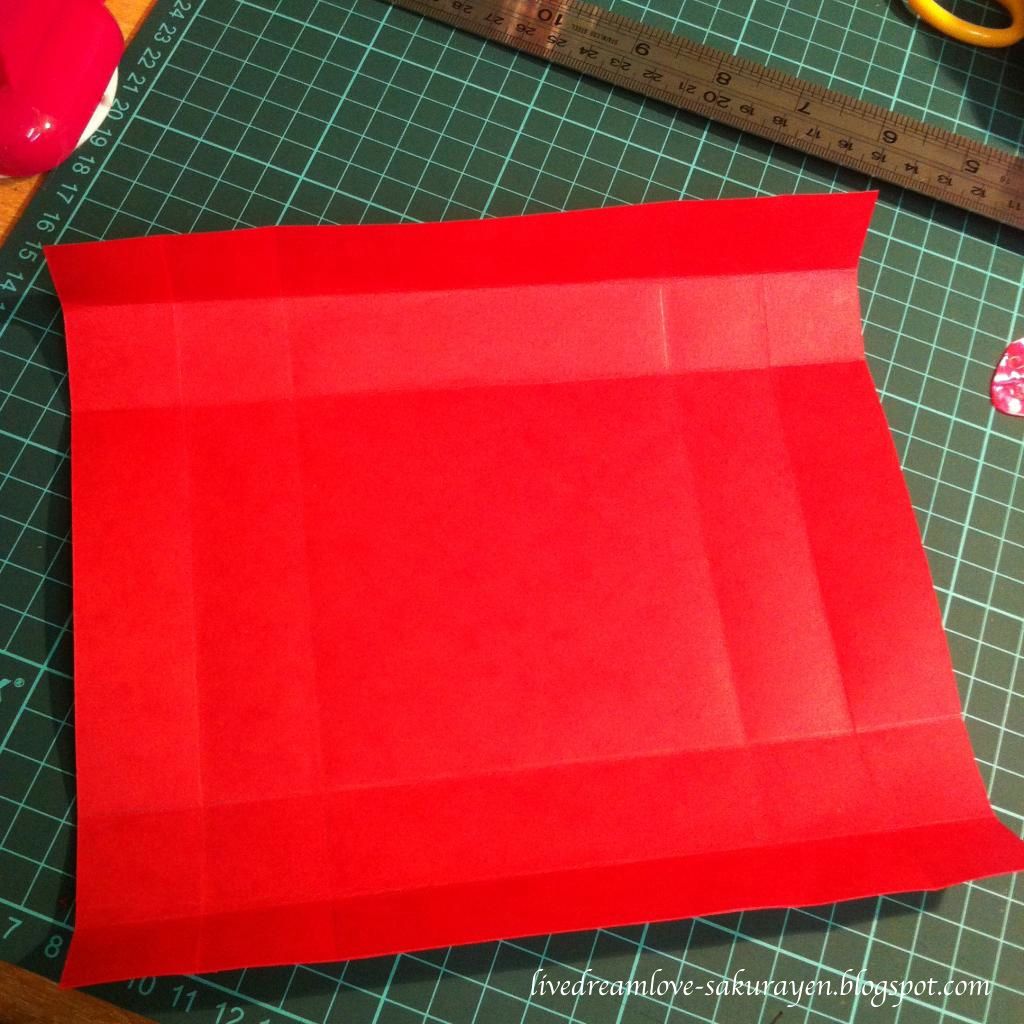
2) Then, cut the edge (2 boxes) for each corner and fold it like below.
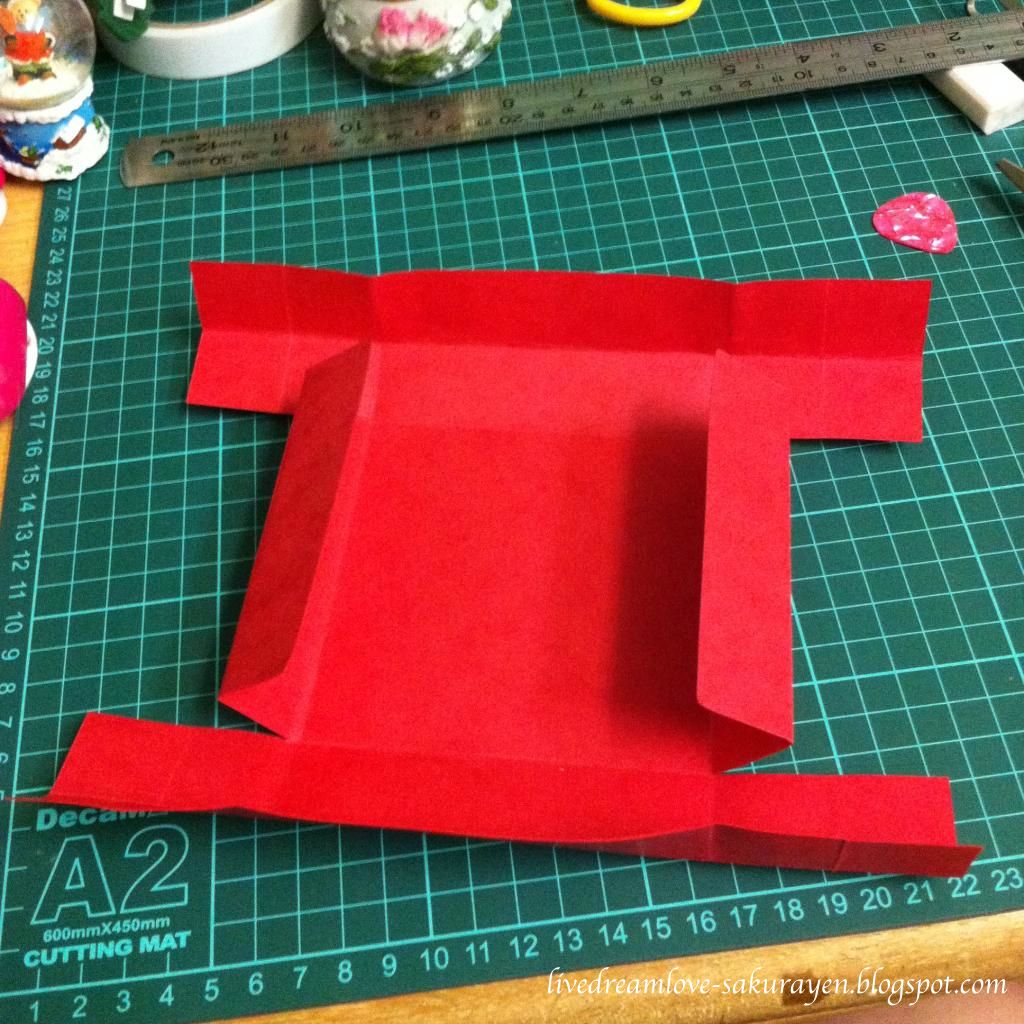
3) Insert the longer ends into the smaller flaps and glue them tightly together. This forms the box cover.

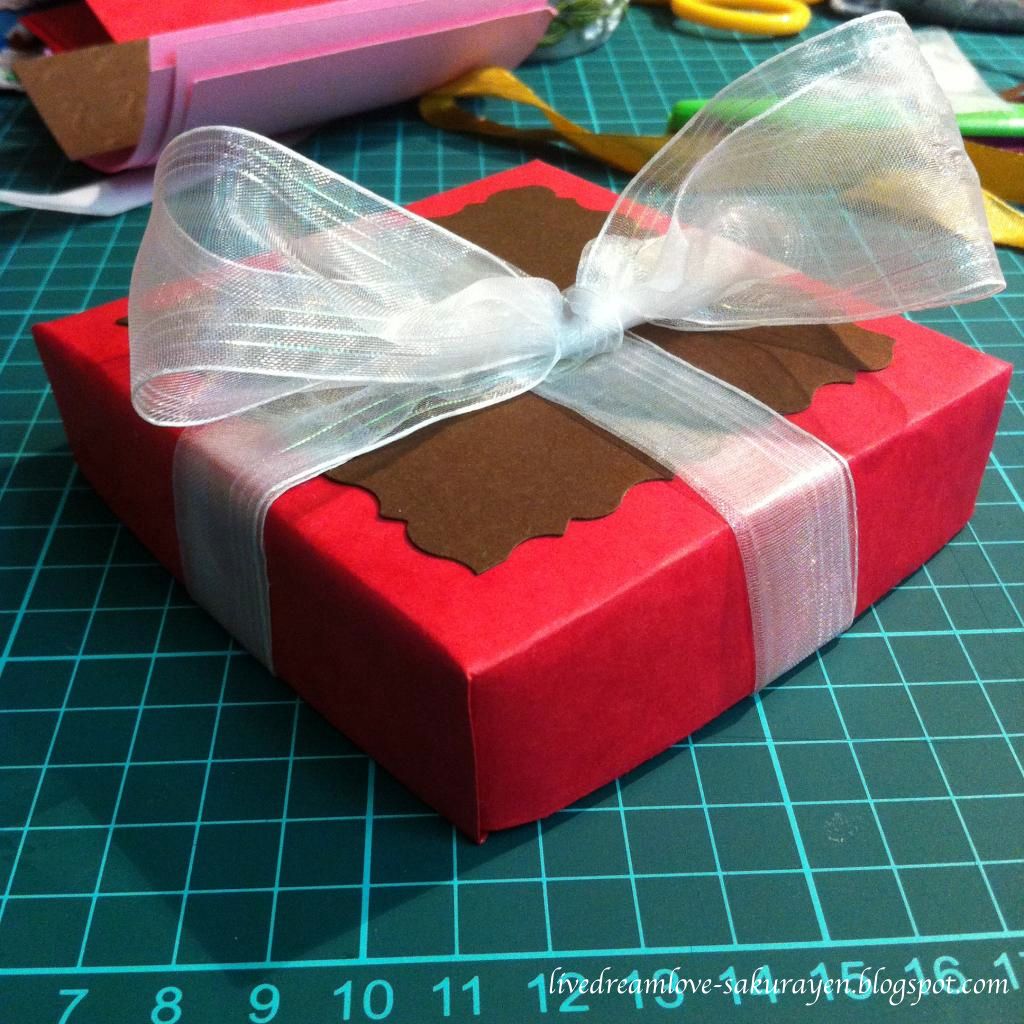
4) I decorated the cover with the same dark-brown paper for the outer box structure and topped it off with a piece of ribbon.
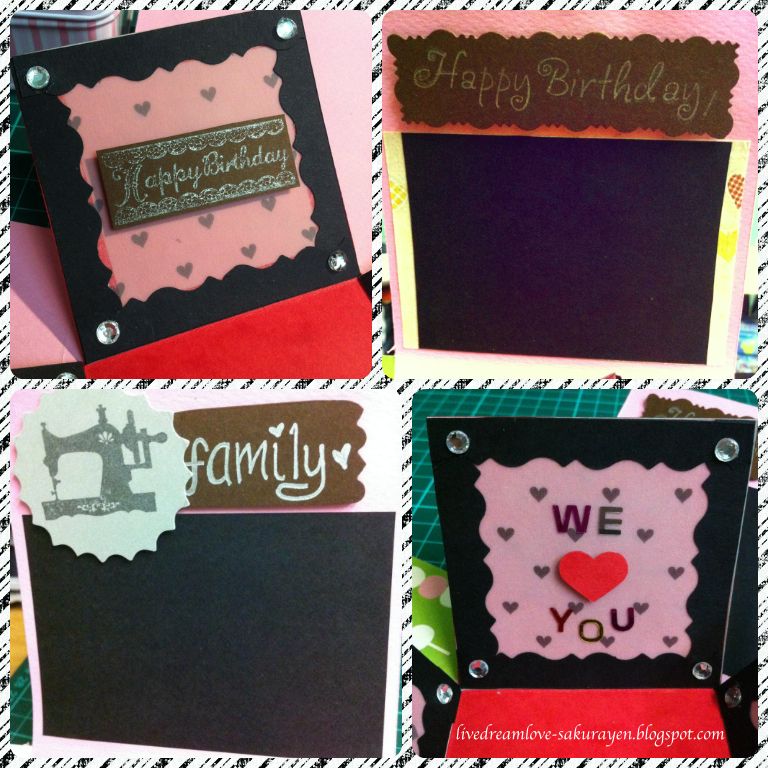
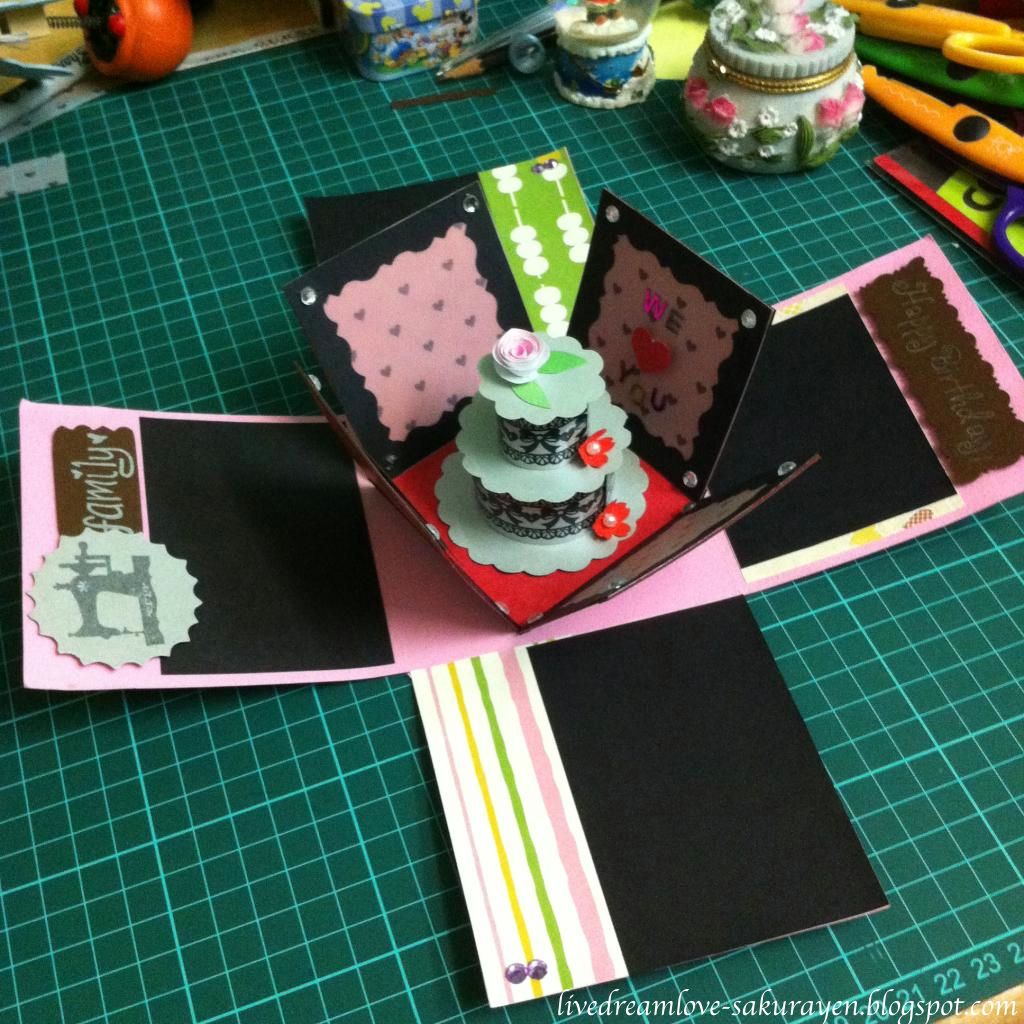
So, this is how the interior of the explosion box structure looks like after some final touches. All it needs now is some photos ~(^,^)~.
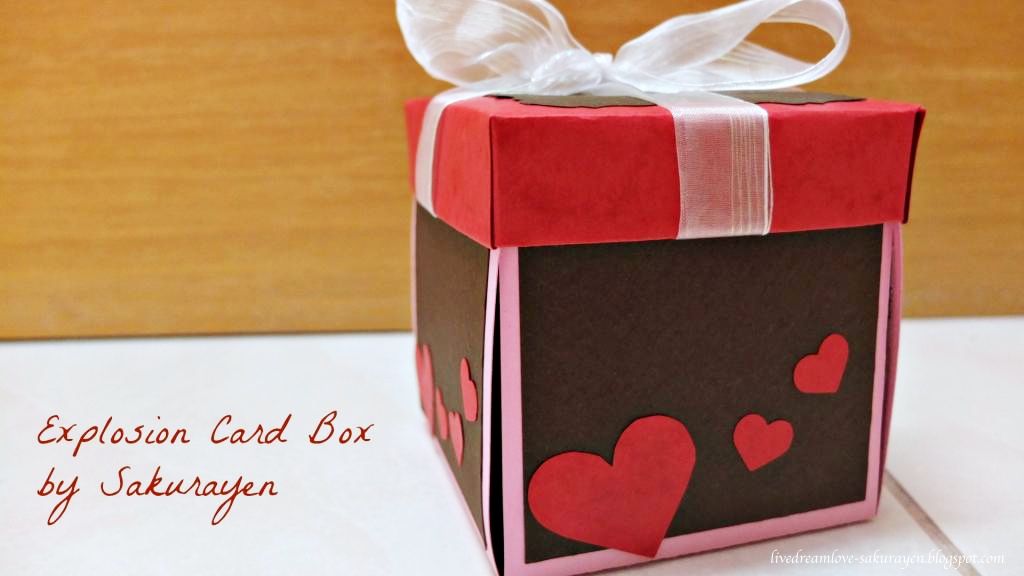
and here is the final look which I have shown earlier!
This marks the end of my tutorial. Hope it's detailed enough! Any feedback or comments are welcomed as this is my very first time in making a tutorial for a DIY craft project.
Thanks again for tuning into my blog and stay tune for more updates!

Hello there
ReplyDeleteI would like it if you could please remove my photo of my explosion card from your blog post. You have made an explosion card just as lovely and could use your photo as the example.
Thanks so much
Erica
Owner of Ericraft
Hey Erica, I sincerely apologize about using your photo. I didn't mean to cause any offense. Your explosion card box was really cute and pretty. I've already removed it from my blog post. Sorry once again.
ReplyDeleteNo worries. Thank you x
ReplyDeleteHave a nice day! :)
Deletehey whatever your name is(no offense)
ReplyDeleteCould you show mem how to make it bigger
Hi Aida Haile,
DeleteIt's okay you can just call me as Sakura Yen :)
I'm not sure how big you want it to be but you can play around with the sizes. They are just basically a square dimension. In my example, I did a 30cmx30cm for the outer pink box and 21cmx21cm for the inner red box as well as the cover.
Hope this helps!